Tuesday, January 29

A Year of Gnomes: Day Six

Day Six: Make something using a stencil.

My initial thought was to make something sort of like a chalk outline of a body, like what you might find at a crime scene, but I went with something a bit lighter. Gnome crossing sign!

First I had to use my Exacto knife skills on a piece of Bristol board.
Here's the finished product! Stencil, cut out, and sign.
Another view.
Make way for gnomes!!

Materials used: Bristol board, acrylic paint, artists tape (to create lines around edge and underneath gnome), cardboard (for backing)

I kind of want to make a bunch of these and hang them up in parks at a kid's eye level. Make a little mischief and spread some fun.

However, due to the Portland weather it's going to be a few months before the sun comes back out. For now I'll just hang it up in my room.

Tomorrow: gnome + food (again!)

Monday, January 28

A Year of Gnomes: Day Five

Day Five: Make something using fruits or vegetables.

This worked out well because I had some fruit that was about to spoil. I turned it into a little gnome sculpture before putting it in the compost bin.


Materials: apple (for body), orange (for head, beard, and eyebrows), raisins (for eyes), scrapbook paper (for hat and shoes), Sharpie marker (to draw on a little smile), hot glue gun (to put it all together)

It was fun setting up a photo shoot for him on my desk. Very happy I didn't injure myself with the hot glue gun (I have burnt myself badly in the past, glad that didn't happen this time!)

Tomorrow: another gnome, in a different form

Friday, January 25

A Year of Gnomes: Day Four

Day Four: Work with a collection (I skipped over the challenge for Day Four, but I will come back to it! This is technically the challenge from Day Five. Forgive me)

Since I am a gnome aficionado, I obviously have amassed a few:
The gnome in the Hawaiian shirt has come with me on a number of trips and vacations.

$3 gnome from Goodwill. I had to buy it. I keep meaning to give him a Portland makeover, but I haven't gotten around to it yet. Maybe I'll be able to do that in a future challenge.
A page of gnome doodles. Some of these are super weird. 

Materials: Nikon SLR camera, pen

Tune in next week for some more gnome-y goodness.

Thursday, January 24

A Year of Gnomes: Day Three

Day three: Make something with paper, but don't draw, cut, or paste anything. 

I am not an origami expert at all, because I have a really hard time figuring out the folds based on written instructions. I first tried following the instructions here, but I had a tough time and gave up on that.

Thankfully I found this video on YouTube, and did a pretty good job of following the instructions:


The resulting origami gnome bookmark. It sorta looks gnomish.
Once it's placed in a book, it does look sort of like you're smooshing a gnome within the pages.

Here is a way cooler gnome, designed by Eric Joisel:

Materials used: scrapbook paper

One more gnome post tomorrow to round out the week!

Wednesday, January 23

A Year of Gnomes: Day Two

Day two of the 365 challenge: Use your favorite animal as inspiration for today.

My favorite animals are elephants, so somehow that inspired jousting gnomes on bitty baby elephants.

The linework!
All colored in!
A slightly nicer version of the final art.

Materials used: pen, Prismacolor markers, recycled paper, white acrylic ink & brush

More gnome action tomorrow!

Tuesday, January 22

A Year of Gnomes: Day One

I've decided to begin a year of creative challenges! The theme will be gnomes, because I love gnomes.

We'll see how long I can keep this up - I'm going to do my best to stay on top of the challenges.

Day One: Make something that fits in the palm of your hand


Now I have another gnome to add to my collection! He looks pretty good on my shelf.

Materials: cardboard, Prismacolor markers, ink pen, white acrylic ink & brush

Come back tomorrow for more gnome-y goodness.

Thursday, January 10

Wild & Crazy Kids

As promised, here is a continuation of party-related images.

This is another assignment from one of my college illustration courses. Back when Michael Jackson was still alive, and very creepy. You'd want him at your kid's party, right?

An alternate version of the cover that I most likely created after a critique of the first image. I tried to make it more visually engaging and whatnot. You may also notice I covered the girl's head with a cloth. Because his child Blanket was a big deal back then. I must not have realized that Blanket was a boy. My bad, Jackson family.


Thursday, January 3

Jay and 'Ye in SPACE!

My brother is a huge fan of Jay-Z and Kanye West, so I made him this ridiculous illustration as a Christmas gift:

Here is the line art of Jay-Z and Kanye
I decided to stick them in space (totally normal, right?) so I created this background with some watercolors and acrylic paint. I found a super easy tutorial on how to do this via YouTube:
Then I cut out the line art and Mod Podge'd it to outer space. Easy peasy!

This was a super fun project and it only took me a few nights. I need to start drawing more!

Materials used: Micron pens, other black pens, watercolor paints, white acrylic paint (for the stars)

More posts will be coming your way next week!

Thursday, December 20

A Very Portland Christmas

To continue on the Portland theme, here's hipster Santa, bringing PBR to all the underemployed boys and girls living on the east side...


Tuesday, December 18

Portlandia!

I will be leaving Portland for a short span of time to spend the holidays with my family, but I love this quirky little city so this week's posts are Portland-related.

This image is something I made for my friend who has recently left Portland for somewhere in Colorado, so I wanted to send her off with a slice of Portlandia. I tried to think of the most "Portland-y" thing I could think of. According to my brain that was a hipster elk/deer thing riding a bicycle past Powell's Bookstore while drinking a PBR.

This is how it turned out:
If this image captures even a fraction of Portland's oddness, I consider it a success.

Materials used: pens, watercolor, colored pencil

I really hope Megan got this in the mail by now and I didn't totally spoil the surprise by posting on here...

Thursday, November 15

Travel

Last fall I created a series of illustrations so I could throw together a stop-motion-y video for a Southwest Airlines competition to win 30 million rewards points to fly wherever I wanted. I love to travel and thought I threw together a fairly convincing and creative presentation as to why my broke AmeriCorps butt should be able to jet across the country on a whim, but they didn't pick my video. (You can still make things right, Southwest!!!)

I was pretty bummed that I did all that work for nada, but you all can view some of the pieces I created. Maybe I'll try to throw the video up on YouTube or Vimeo or one of those places. I wrote a children's book-esque script to go along with the video and narrated it myself and used iMovie to edit it all together because I have lost whatever Final Cut abilities I gained in college.

I'll shut up and show the pictures.
That's supposed to be me. Broke and living in Portland, Oregon. BUT HAPPY!
Then I discussed driving across the country in my tiny little car to serve in AmeriCorps because I am an amazing, selfless person.
This is a really weird combination of images: Cleveland's Rock & Roll Hall of Fame and a geyser (Old Faithful if you'd like) from Yellowstone, because I saw both of those things on my drive across the country. It's kind of surreal and I really like how it turned out even though it makes no sense without explanation.
Hey, look! I don't have enough money to fly anywhere and go on tropical vacations.
Like 99% of Americans.
I explained the awesome things I would do if I was able to fly all over the country for free.
You may notice that I love alliteration.
 I tried to tug at the heartstrings of the soulless marketing folks who didn't choose my video. I talked about going back to Philadelphia to visit my family because I missed them very much. That's a pretty accurate representation of my Pops.
Then I did a little stop motion bit of the ridiculous amount of flights I would be able to take with all those reward points. I even made the airplane look like a Southwest plane. Because I have a crazy awesome eye for detail!!!
Then I cleverly brought it full circle by using the first image, but I changed the words on the sign! Brain-explosion-inducing, I know.

So those are some pictures. I made them with patterned paper, markers, watercolors, and Mod Podge.

Friday, November 9

Giraffes!

This was a project I completed earlier this year for my dear friend Kayla (who is sort of famous). The girl has got some pipes. But I digress.

Kayla's close friend just had a baby, and Kayla wanted a special card made for the family. Specifically, she wanted a family of giraffes. When I finally got down to drawing it out (I procrastinate heavily without concrete deadlines), it didn't take me very long. I drew out one rough sketch to show Kayla:


The finished art looks pretty similar. I got a little crazy with Momma Giraffe's hair, but it's a good look for her.


And here's what the card looks like:


All I used for this card was some Micron pens I think. Some kind of pens. I don't quite remember.

Wednesday, October 24

Robots

As I mentioned in my last post, I was (sort of) working on a little robot art piece. Since I pulled out all the stops at the last minute and manage to finish the piece, I can triumphantly post about it.

Background:
Robo Taco (a Mexican eatery in SE Portland) put out a call for robot art on Craigslist (a totally reputable site to find art jobs) and I saved the post - thinking that I might get around to creating a piece. Usually, I don't, but this time, dear reader, I did! I made a rough sketch of what I wanted my little robot to look like one evening, and the following evening I drew it out on nice paper, inked it and watercolor-d it, and Mod Podge-d it all together.

So here is the rough sketch:
And here is the finished product:
I put it in a frame I got from Goodwill for $2, and voila! A finished piece. It looks pretty classy in the frame, but I don't have a picture of that yet.

Materials used: Watercolor paper, Micron pens, watercolors, colored pencils, and patterned scrapbook paper (the background)

Friday, September 21

A Lady & Her Pup

Here's a quick post before I kick off my weekend:

We had a gift exchange in the AmeriCorps program I was in last year (we were a pretty tight-knit bunch) and I think there was a max of $5 you could spend since we were all broke and that sort of restriction leads to thoughtful, handmade gifts. (Which it totally did).

I had some small frames from IKEA that I wasn't using for anything, so I spray painted them black and made some pen drawings to go inside of them. I figured most people would dig pictures of themselves (I adore a portrait of myself that was done in Paris - even more so because I've had to draw myself a countless number of times for self-portrait projects) and pictures of their pets. This particular lady was the first AmeriCorps member I met in Oregon because she let me and my boyfriend crash at her place for a few days before I moved into my house. She has a super cute dog named Pablo, and my then-boyfriend bonded with Pablo because he loves all dogs. I realize I'm getting off track now, so here are the pictures:
I apologize to Megan for this portrait - it does look like her but I did not crop this image well. It makes her look much less cute than she is in real life because of the way I cut her chin out of the picture. I did a much better job with Pablo:
Such a cute puppy!

I think these were drawn with Micron pens, but I can't quite remember. Woo!

Friday, September 14

Scribbly Doodles

My life has been a smidgen crazy recently. I'm at the beginning of a lot of great things, and I haven't had much time to draw as a result (I will be fixing that soon!). I found these creature doodles in a notepad and felt they warranted a post. I drew them last year during the before-school reading program I ran at an elementary school. We had a volunteer reader come in on Wednesday mornings, which gave me a bit of time to draw. Of course, the kids always wanted to see what I drew at the end of the session. Sometimes they tried to draw the same thing. It was pretty cute.

I have more of those early morning doodles stashed away, so I'll scan them in at some point.
I love the crazy-eyed vulture-looking guy at the bottom of the page.
This doodle makes me very happy. It is the most Quentin Blake-ish thing I've ever drawn. (Quentin Blake did the interior illustrations for the majority of Roald Dahl's books, for those of you who don't have an expansive knowledge of children's book illustrators).

These were drawn with some felt-tip pen I acquired at school. I think I pilfered a few of them from the supply cabinet because I really liked making lists and drawing with them.

Thursday, September 6

Blue Moon

I just realized this post could have been very timely had I posted it the night of the blue moon. However I wasn't thinking about that, so you'll get this post now.

I had the pleasure of designing a t-shirt for my high school marching band this year (I also did it last year - I'll have to find those images for another entry). The theme for their show is "Shadows" and it features "A Night on Bald Mountain". I watched the Fantasia animated clip for that tune and had a pretty complicated idea in mind involving demons and witches and skeletons. Since I'm a lazy bum I didn't do much to flesh out the idea, which worked out to my favor, because the band director wanted something involving the moon. They have a backdrop for the field of a giant moon and clouds, so he wanted that idea to translate to the t-shirt.

I figured the idea would be super easy, and I'd whip something out in no time. Not the case my friends. I struggled for a bit before landing on a concept.

First I tried using a photograph of the moon and clouds, and I tooled around with it in Photoshop, but my digital skills are limited and I was frustrated with the results:
Mind you, this is the inverted image because it would be white ink printed on a black t-shirt. I spent way too much time trying to make it work, it was so uninspired. I was also concerned about how well the image would print on a t-shirt, because there are a lot of gray tones in that image that might not come through in a one color print (I took a screenprinting class in college so I have a little bit of experience with setting up silkscreens).

I was also unhappy that I used a photograph. It felt like cheating. I am an illustrator, so anything I do that isn't drawn out doesn't feel authentic to me. Cue design disaster number two:
Granted, this isn't terrible, but I knew the image wasn't going to translate too well to the screenprinting process. Plus there was no narrative - just a moon and some clouds. I didn't like this either, but at least I got some practice with Photoshop brushes.

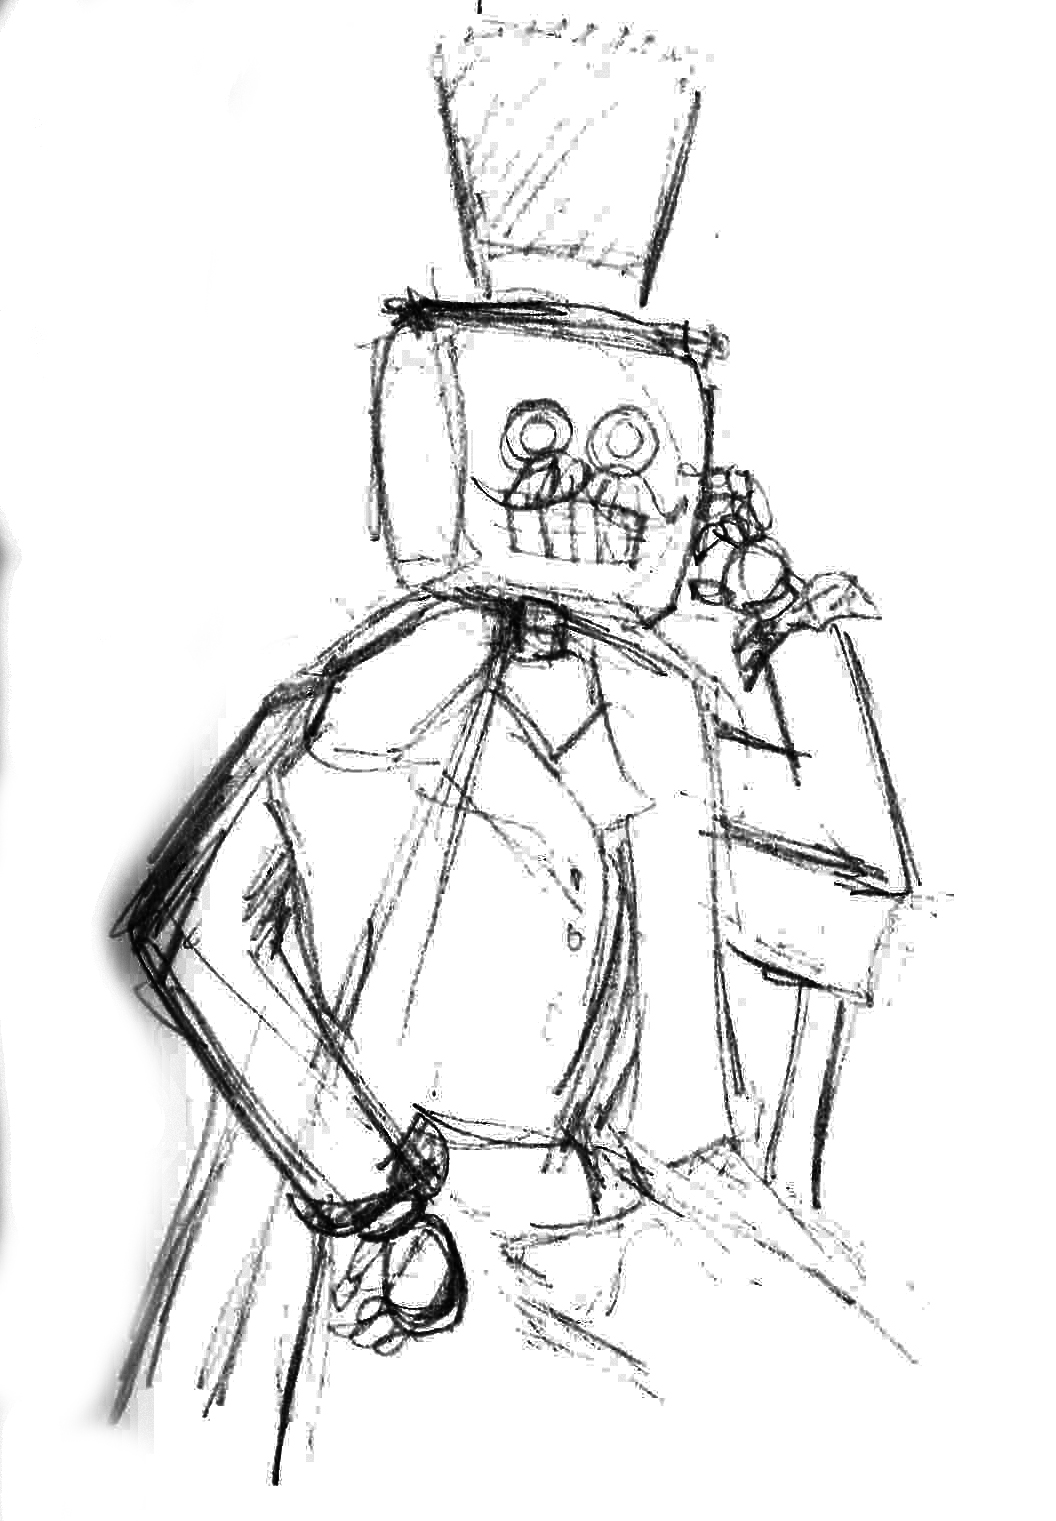
Finally inspiration struck! I was looking at pictures of full moons and I really liked the effect of shadows of objects in front of the moon. It was a really nice framing device. Once I came up with that concept, the rough sketch came out easy peasy.
Visual inspiration.
This is the final result for the front of the t-shirt. I was very happy I was able to add a slightly creepy narrative to the illustration and figure out a way to "ground" the moon.

Here's the back:
Whew. That was a wordy post. Next time I'll just post doodles of kittens or something.

Oh yes, one more tidbit of information: all of the images for this shirt were drawn with my Wacom tablet. I almost always scan in a sketch and work on top of it, but this time I drew on blank layers in Photoshop while looking at my sketch. I saved a lot of time by cutting out that middle step. Perhaps I will start doodling on my tablet more often.